
The landscape of software development is undergoing a fundamental transformation as artificial intelligence migrates from isolated web interfaces directly into the local development environments of engineers. OpenAI’s introduction of the Codex CLI (Command Line Interface) represents a pivotal step in this evolution, bridging the gap between the generative capabilities of ChatGPT and the practical, high-stakes requirements of local repositories, shells, and testing frameworks. By integrating AI assistance into the terminal, developers can now leverage Large Language Models (LLMs) to interact with their file systems, execute commands, and debug code with unprecedented speed. This transition from a passive chat interface to an active terminal agent necessitates a rigorous understanding of installation protocols, security boundaries, and workspace management to ensure both productivity and system integrity.
The Evolution of Codex: From Model to Integrated Agent
The journey of Codex began as a specialized descendant of the GPT-3 architecture, fine-tuned specifically for programming tasks. Originally released as an API in 2021, the Codex model powered the initial versions of GitHub Copilot, demonstrating that AI could provide meaningful code completions and translations between natural language and programming syntax. However, as the industry moved toward "agentic" AI—tools capable of not just suggesting code but executing tasks—the need for a native command-line interface became apparent.
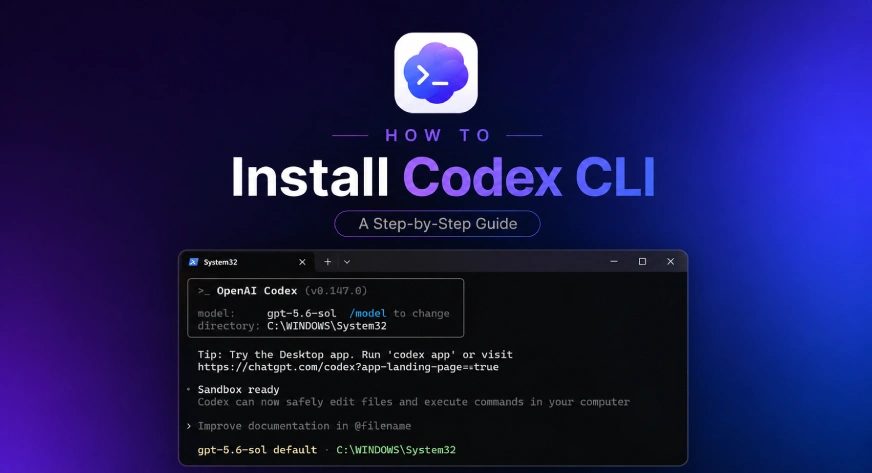
The Codex CLI is OpenAI’s response to this demand, positioning itself alongside competitors such as Anthropic’s Claude Code and the open-source AutoGPT movement. Unlike the standard ChatGPT web experience, the Codex CLI possesses a "contextual awareness" of the user’s local machine. It can read directory structures, analyze existing codebases, and suggest terminal commands based on the specific state of a project. This evolution marks a shift from AI as a consultant to AI as a co-navigator within the developer’s primary workspace.
Prerequisites and Pre-Installation Strategy
Before initiating the installation process, developers must evaluate their current toolchain to determine the most stable deployment method. The Codex CLI is designed to be lightweight, yet its interaction with the operating system requires specific permissions. OpenAI provides two primary pathways for installation: a standalone installer and package manager-based distribution.
For users who do not regularly manage their developer tools via Homebrew (macOS) or npm (Node.js), the standalone installer is the recommended route. This method ensures that the CLI and its dependencies are isolated, reducing the risk of version conflicts with existing global packages. Conversely, developers with established workflows in Node.js or those using macOS with a robust Homebrew setup may prefer those managers to centralize their update cycles.
Step-by-Step Installation Protocols
The installation of Codex CLI is designed to be streamlined, often requiring only a single command, yet the underlying processes vary significantly between Windows, macOS, and Linux.
macOS and Linux Deployment
On Unix-based systems, the installation leverages the curl utility to fetch the installation script from OpenAI’s servers. The command is executed as follows:
curl -fsSL https://chatgpt.com/codex/install.sh | sh
This script automatically detects the shell environment (such as Zsh or Bash), downloads the appropriate binary for the system architecture (Intel or Apple Silicon/ARM), and places it within the system’s execution path.
Windows PowerShell Deployment
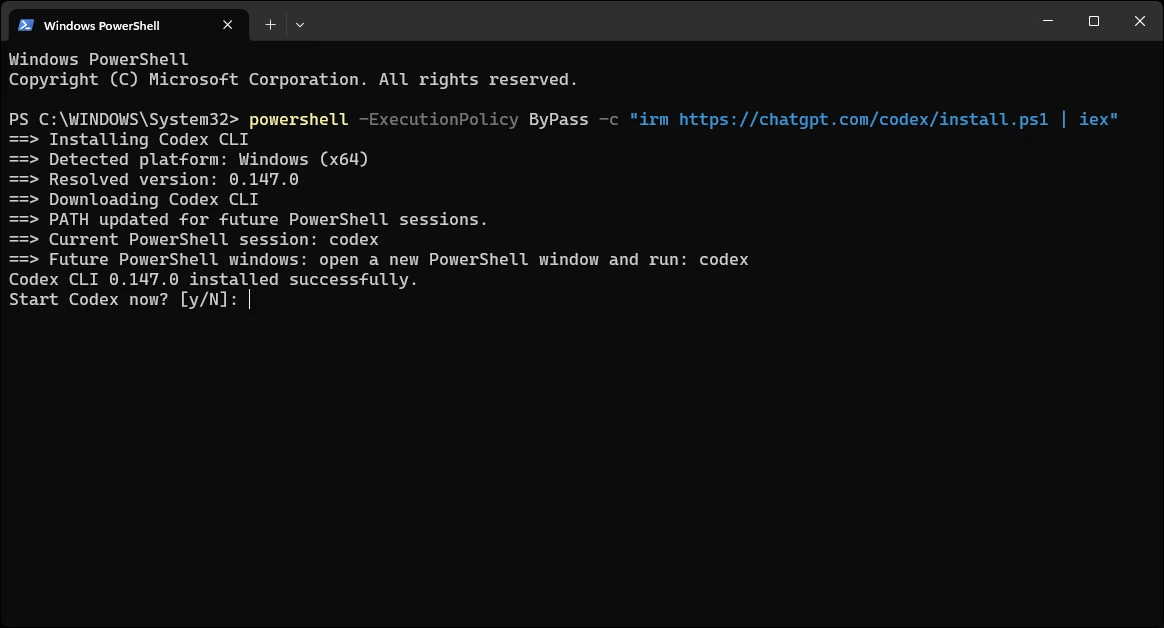
Windows users utilize the "Invoke-RestMethod" (irm) command within PowerShell to facilitate the setup. Due to Windows’ execution policies, the command includes a bypass flag to ensure the script runs without interruption:
powershell -ExecutionPolicy ByPass -c "irm https://chatgpt.com/codex/install.ps1 | iex"
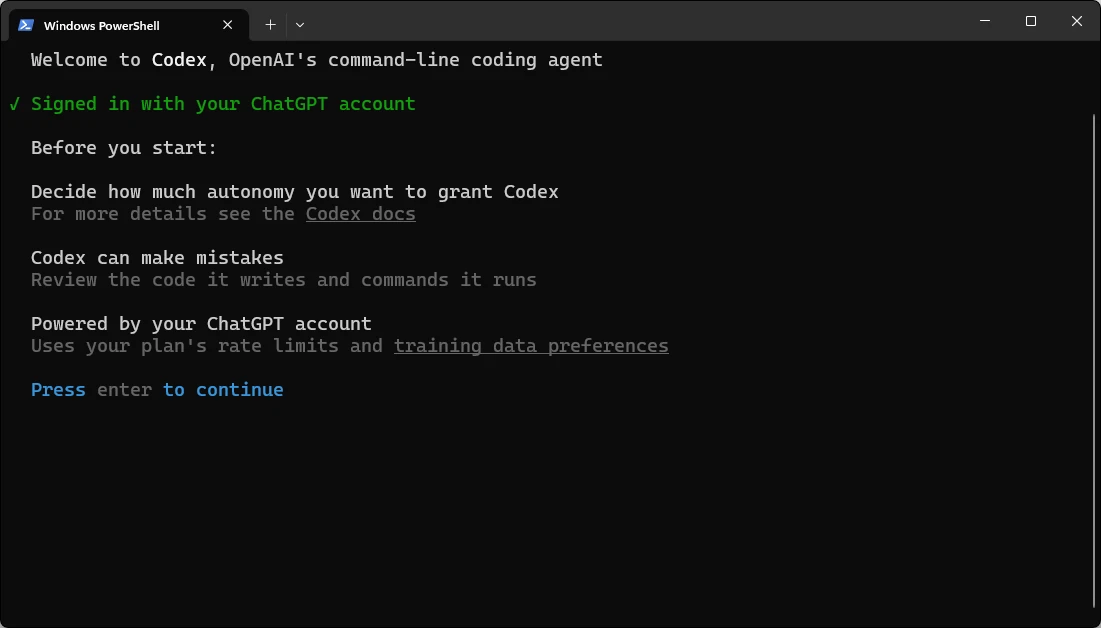
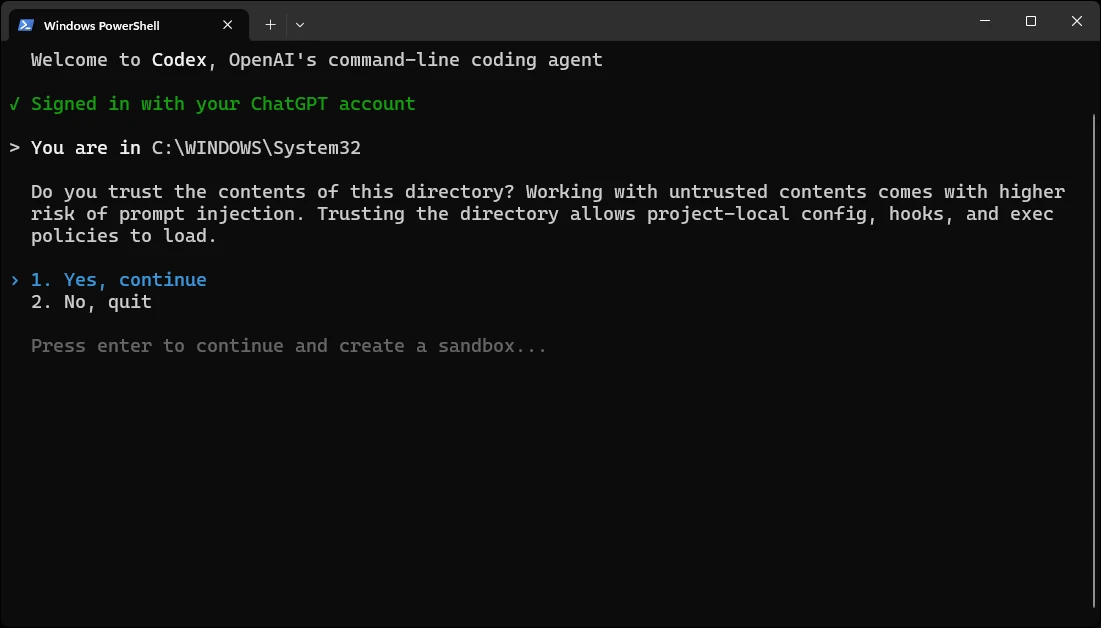
The Windows installer is particularly robust, automatically modifying the User PATH environment variable. This allows the codex command to be recognized globally across CMD and PowerShell sessions immediately after installation. A critical note for Windows users: if the installer prompts to launch the application immediately, it is often advisable to decline (press ‘N’) unless the terminal is already navigated to a specific project directory. This prevents the AI from initializing in a sensitive system folder like System32.
Alternative Package Managers
For those prioritizing centralized management, the following commands are utilized:
- Homebrew:
brew install --cask codex - npm:
npm install -g @openai/codex
The npm method requires Node.js to be pre-installed on the system, making it the preferred choice for full-stack JavaScript developers.
Initial Configuration and Authentication
Once the binary is installed, the "First Run" phase is the most critical for establishing a secure and functional environment. The CLI treats the current working directory as its "root of trust." Therefore, the first step is always to navigate to the intended repository:
cd ~/path/to/your/project
codex
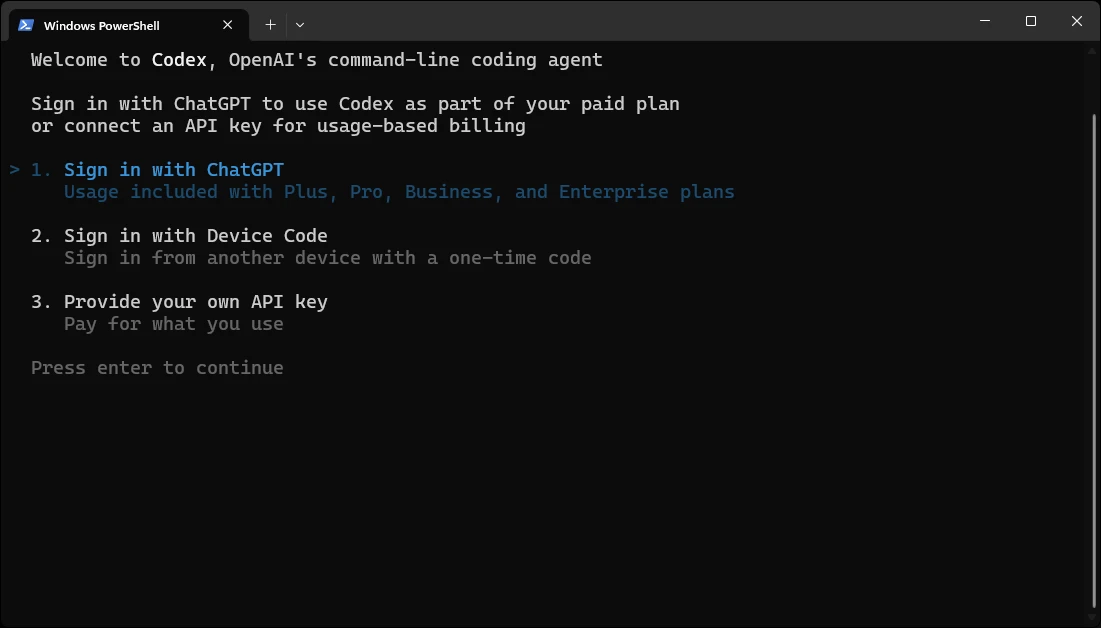
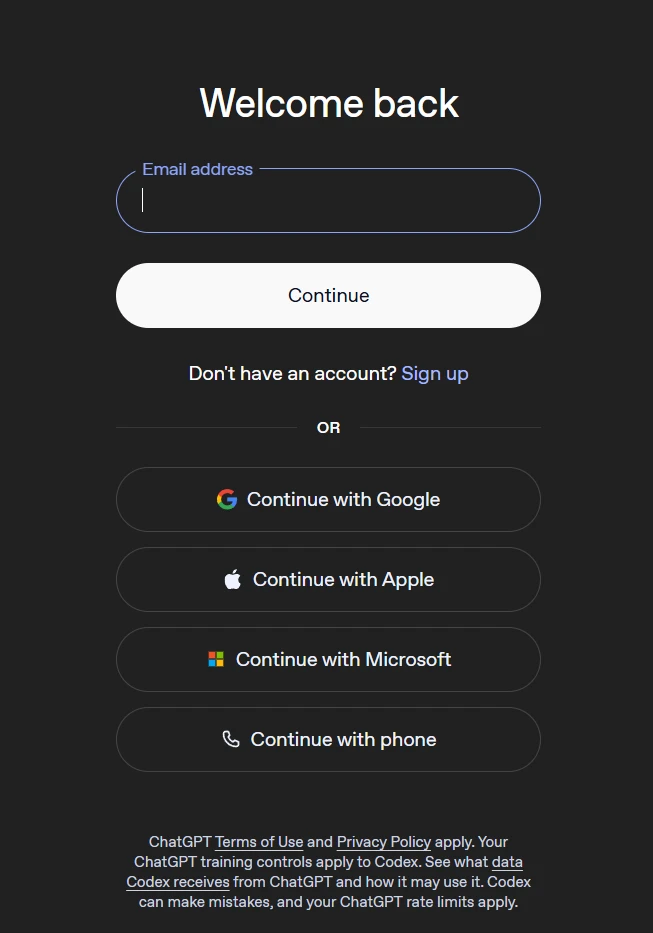
Upon launch, the user is presented with three distinct authentication pathways. The choice between these depends on the user’s subscription model and security requirements:
- ChatGPT Account: This links the CLI to an existing ChatGPT subscription (Free, Plus, Pro, or Enterprise). This is the most common route, as it shares the usage limits of the web application.
- Device Code: A secondary method for environments where a direct browser handoff might be restricted.
- API Key: For users who prefer "pay-as-you-go" billing via the OpenAI Platform. This usage is billed separately from ChatGPT subscriptions and is often favored by organizations for precise cost tracking.
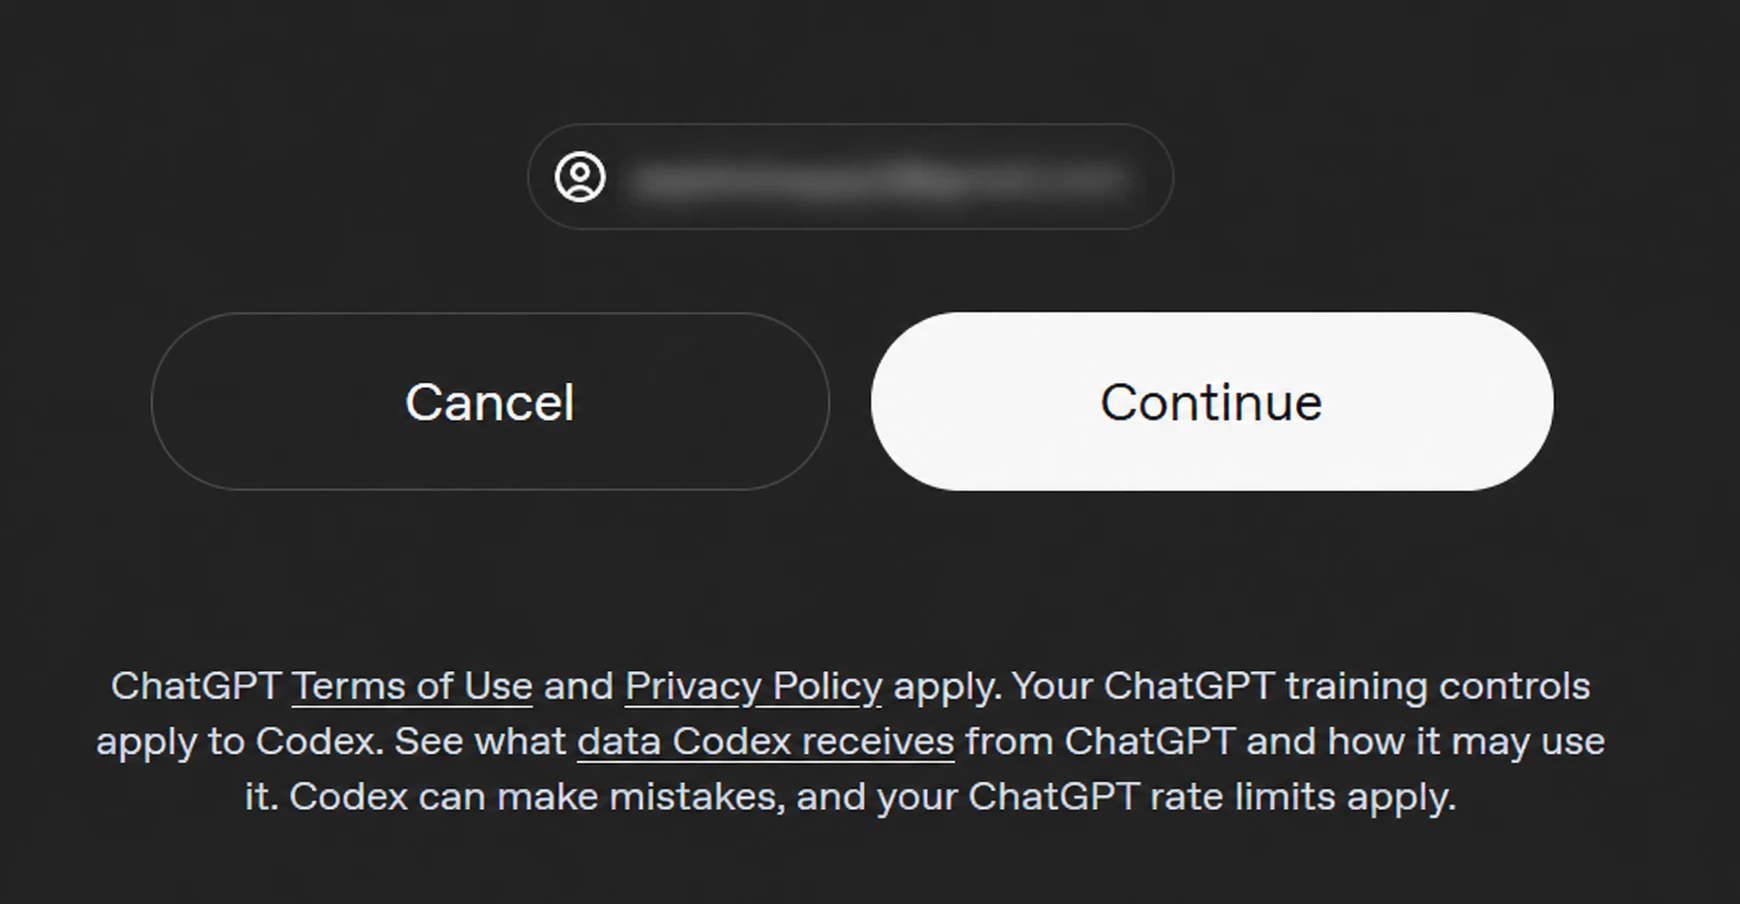
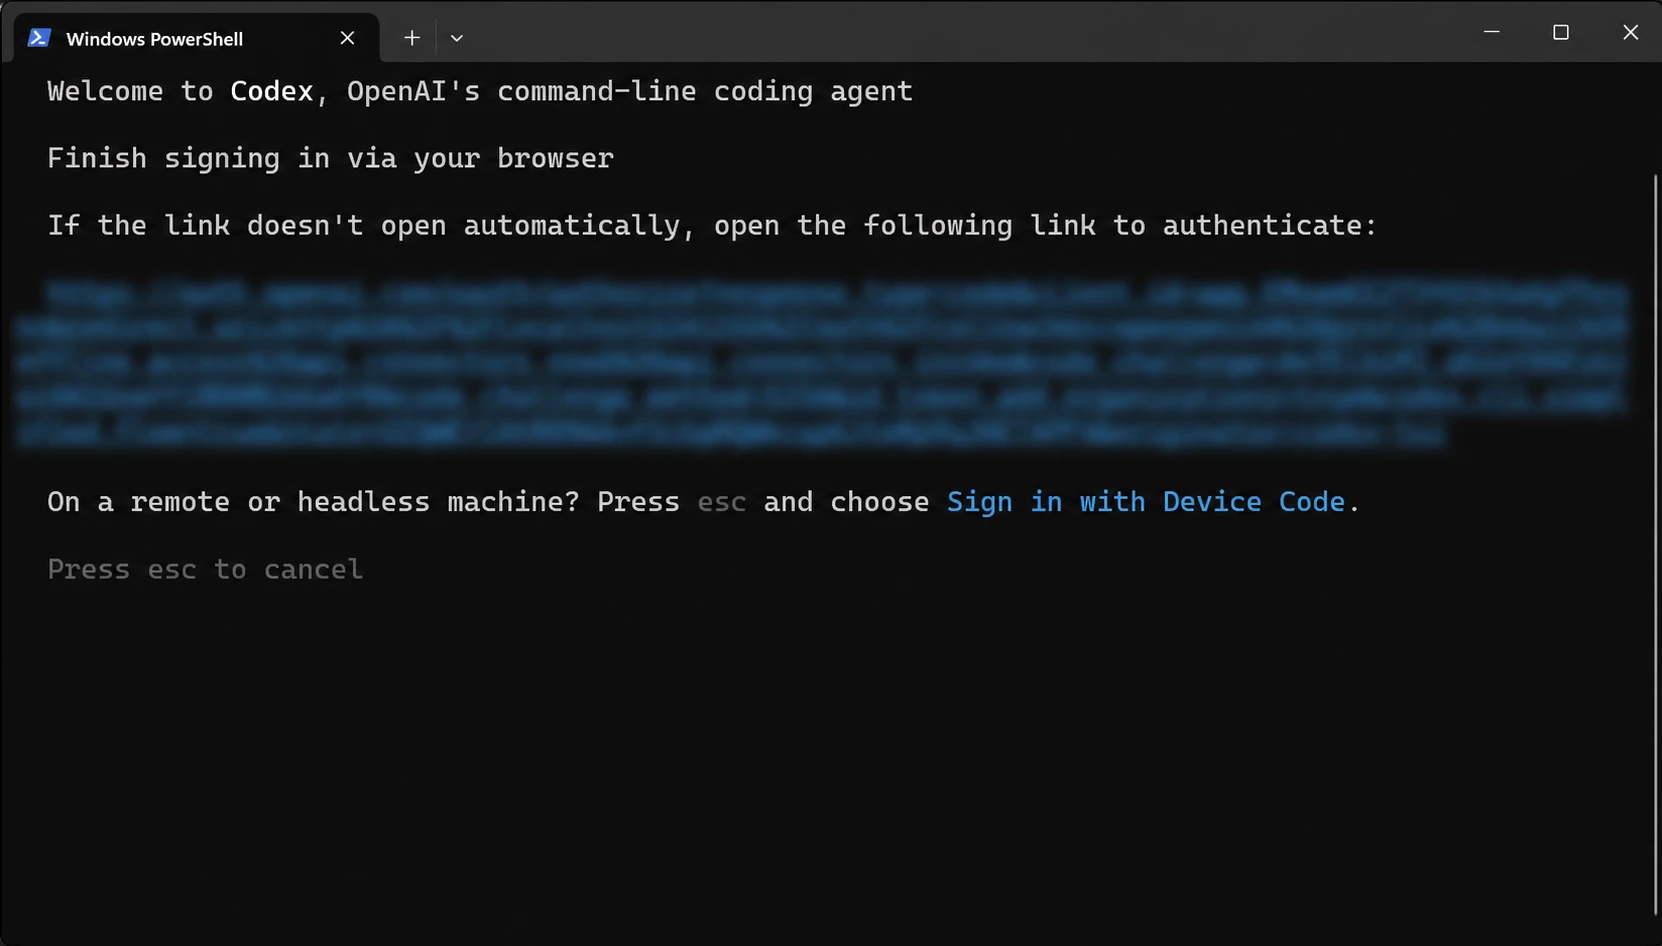
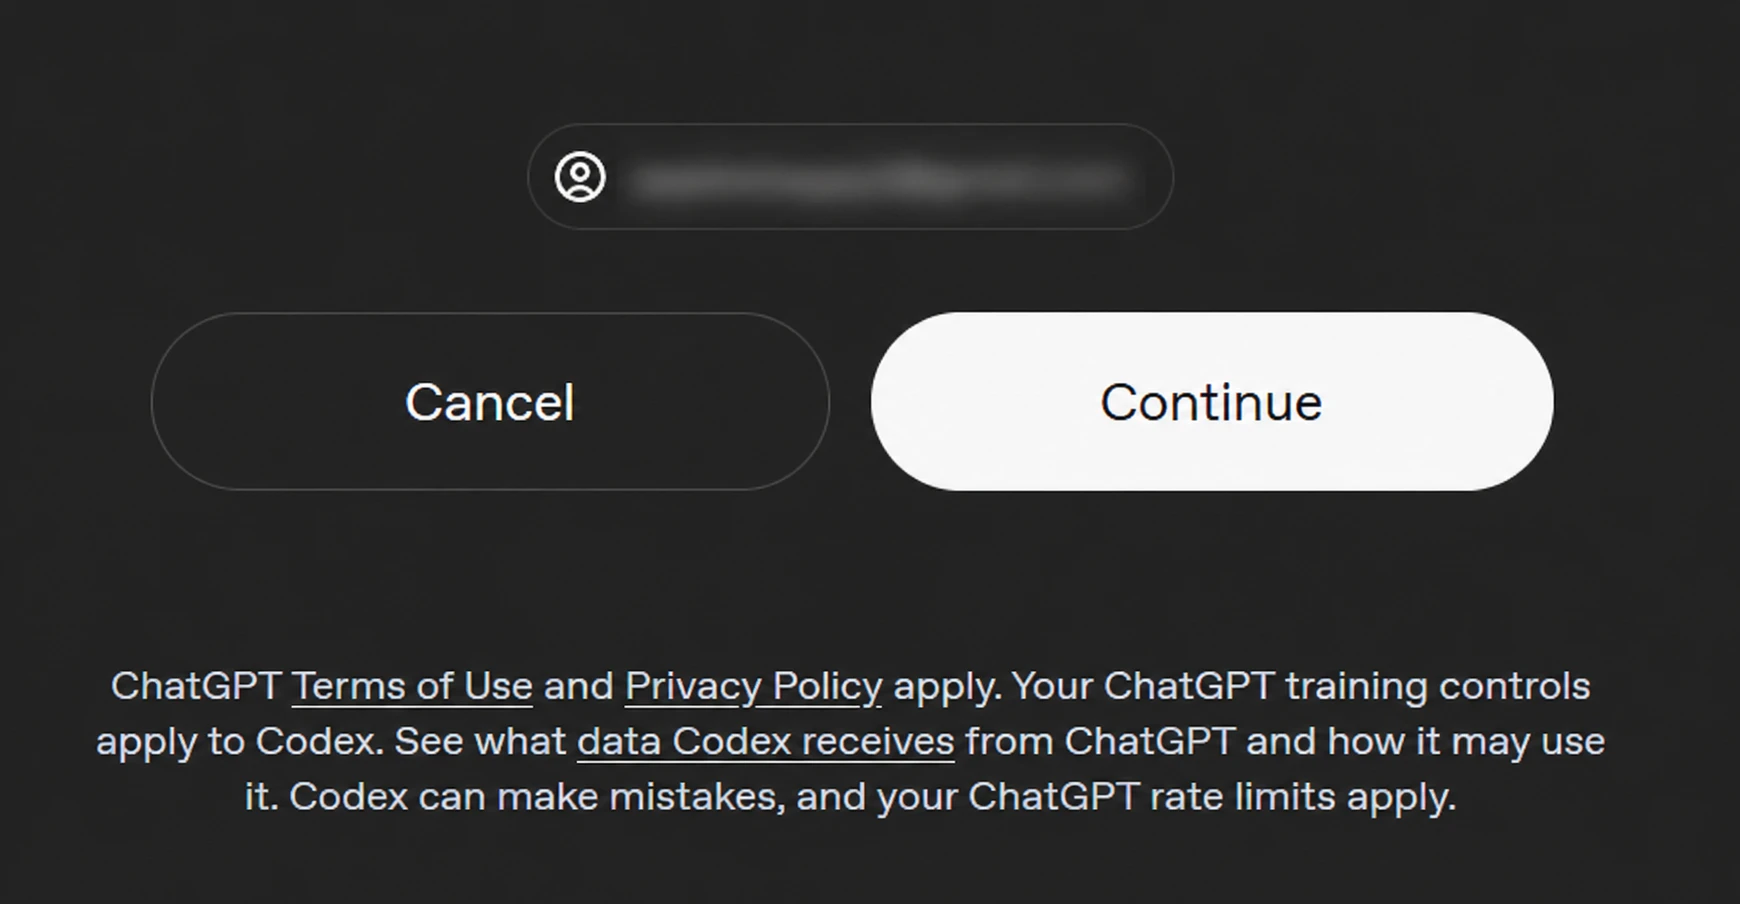
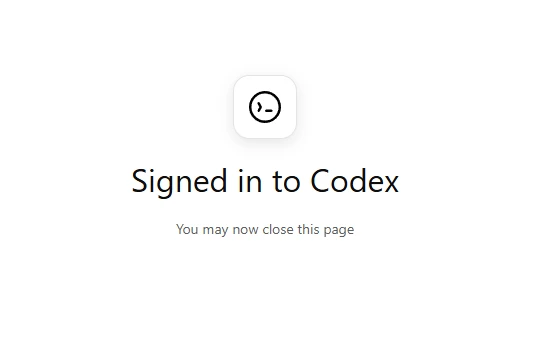
When choosing the ChatGPT route, the CLI generates a unique OAuth URL. In most modern terminals, this URL will open automatically in the default browser. Once the user authorizes the connection, the browser transmits a secure token back to the CLI, finalizing the handshake.
The Security Paradigm: Sandbox and Autonomy
A significant differentiator of the Codex CLI is its focus on safety through sandboxing and permission boundaries. Unlike a standard shell, which has full access to the user’s permissions, Codex operates within defined "autonomy" settings.
The Windows Sandbox
On native Windows installations, Codex utilizes a sophisticated sandbox architecture. The preferred setup involves an "elevated mode" that creates a low-privilege sandbox user. This environment employs filesystem boundaries, firewall rules, and local policy changes to ensure that if the AI generates a potentially harmful command, the damage is contained. While a non-admin mode exists for restricted machines, it offers a "weaker protection" profile, making the admin-authorized sandbox the industry standard for secure development.
Permission Boundaries
Codex operates under three primary permission profiles:
- Read-Only: The AI can analyze files but cannot modify them or execute destructive commands.
- Workspace: The AI has full autonomy within the current directory but cannot "escape" to other parts of the filesystem.
- Full Access: Reserved for advanced tasks where the AI must interact with global system settings or multiple repositories.
Users can inspect or modify these boundaries at any time using the /permissions command within the Codex prompt.
Operational Best Practices and Command Syntax
To maximize the utility of the CLI, developers should familiarize themselves with the internal command set that governs the agent’s behavior. After the initial setup, it is recommended to run a "safe" first prompt to verify the AI’s visibility into the codebase:
"Explain this repository’s structure. Do not change any files. Then list the three commands I should run to verify it locally."
This confirms that the CLI can read the README.md, package.json, or requirements.txt files without granting it write access immediately.
Essential CLI Commands:
/init: Generates a local configuration file for the project, allowing for custom rules and ignored files./permissions: Opens the interface to adjust the AI’s level of autonomy./login status: Displays the currently authenticated account and subscription tier./logout: Clears cached credentials, essential for shared workstations.codex --version: Confirms the current build, which is vital for troubleshooting.
Industry Implications: The Rise of the AI-Native Developer
The release of the Codex CLI is more than a technical update; it is a signal of the increasing "commoditization" of coding expertise. Data from various developer productivity studies suggests that AI-assisted coding can reduce the time spent on "boilerplate" tasks by up to 55%. By moving this assistance to the CLI, OpenAI is targeting the "flow state" of developers. Instead of context-switching between a browser and an IDE, the developer remains in the terminal, maintaining a continuous feedback loop.
Furthermore, the introduction of project-local hooks via the /init command suggests a future where repositories are "AI-ready." Just as projects currently include .gitignore or .eslintrc files, they may soon include .codex rules that instruct any AI agent on the specific architectural patterns or naming conventions required for that specific codebase.
Conclusion and Future Outlook
The installation and setup of the Codex CLI represent a shift toward a more integrated, agentic form of artificial intelligence in software engineering. By following a structured deployment—choosing the right directory, configuring the sandbox, and starting with read-only prompts—developers can harness the power of LLMs without compromising system security.
As OpenAI continues to iterate on the Codex model, we can expect deeper integration with version control systems like Git and more robust multi-modal capabilities where the CLI might analyze UI screenshots alongside code. For now, the priority for any professional developer is a clean, well-permissioned setup that treats the AI as a powerful, yet strictly governed, extension of the terminal. The transition from "writing code" to "directing an agent to write code" has officially moved from the experimental phase into the standard developer toolkit.